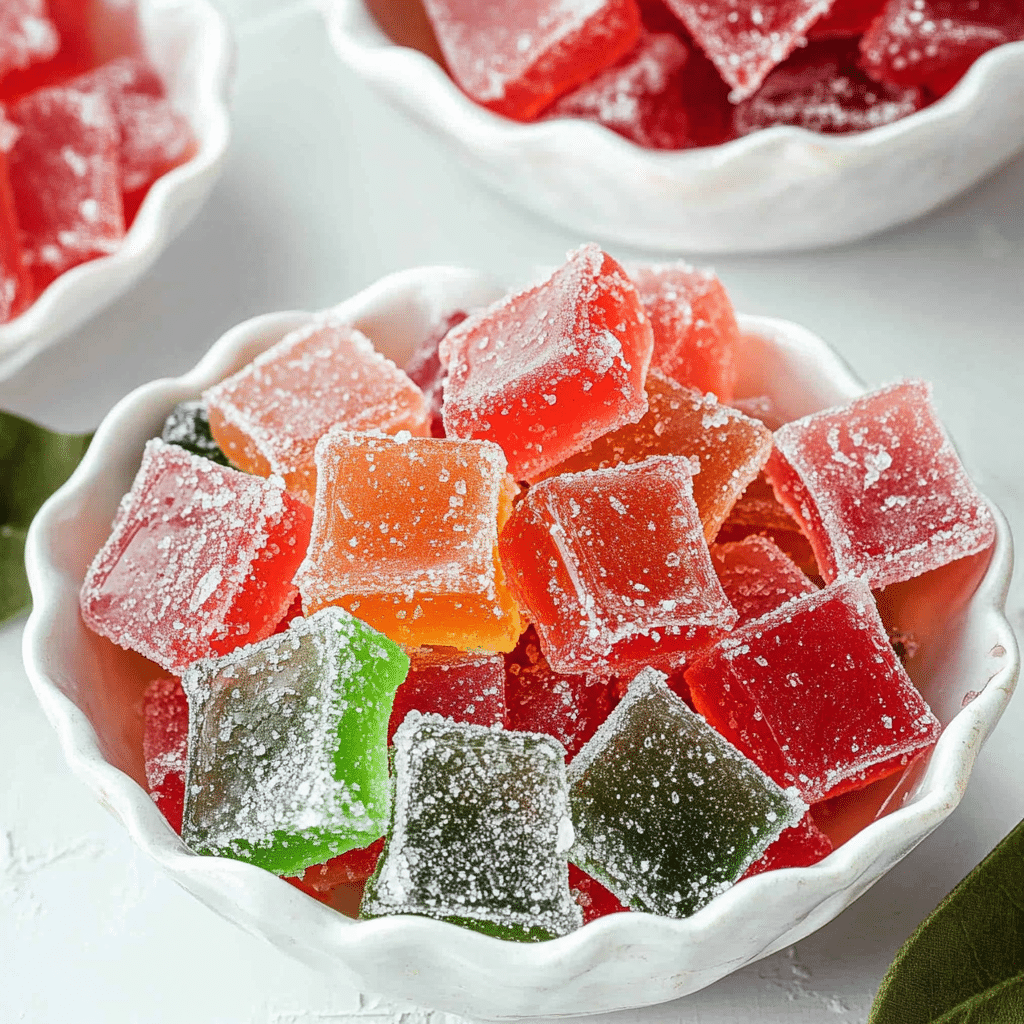
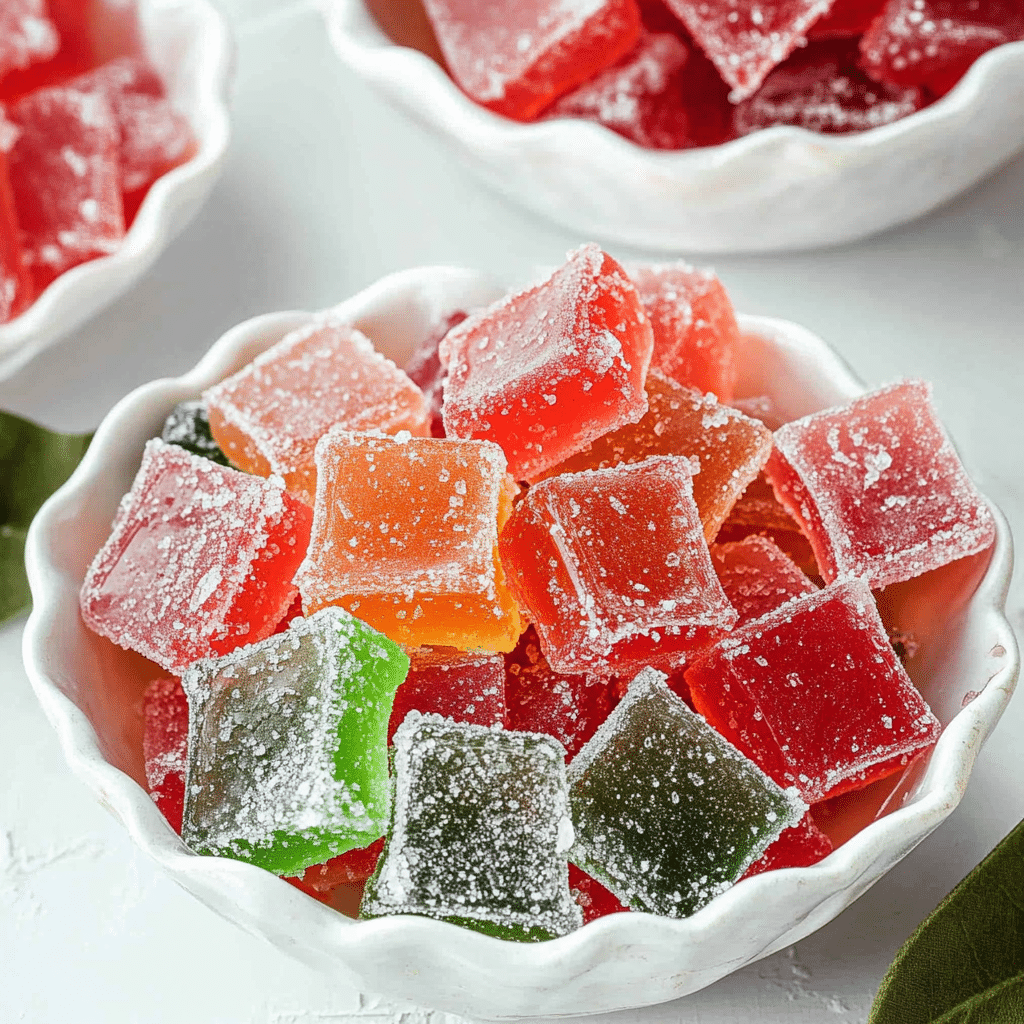
Are you looking for a fun, sweet DIY project that’s perfect for satisfying your sugar cravings or giving as homemade gifts? Look no further! Making hard candy at home is easier than you might think, and it allows you to customize flavors, colors, and shapes. This homemade hard candy recipe is sure to become a favorite treat for you, your family, and your friends.
Why Make Homemade Hard Candy?
Homemade hard candy is a wonderful alternative to store-bought candy, which often contains preservatives and artificial flavors. With just a few simple ingredients and a bit of patience, you can create a batch of delicious, high-quality candy with your own twist. Whether you choose classic flavors like peppermint and cinnamon or more adventurous ones like blueberry or lemon-lavender, the possibilities are endless.
Ingredients You’ll Need
To get started, you’ll need just a few ingredients:
- Sugar – 2 cups (granulated white sugar)
- Light corn syrup – 2/3 cup (helps prevent crystallization)
- Water – 1/2 cup
- Flavoring extract – 1-2 teaspoons (e.g., peppermint, lemon, cherry, or your favorite flavor)
- Food coloring – Optional, for color customization
- Confectioner’s sugar – For dusting (optional)
Step-by-Step Instructions
- Prepare the Workspace: Lay out a baking sheet lined with parchment paper or a silicone baking mat. Lightly dust with confectioner’s sugar to prevent the candy from sticking.
- Combine Ingredients in a Pot: In a heavy-bottomed saucepan, combine the sugar, light corn syrup, and water. Stir gently to mix until the sugar dissolves.
- Cook the Mixture: Place the saucepan over medium-high heat and bring it to a boil without stirring. Use a candy thermometer to monitor the temperature. Cook the mixture until it reaches the hard crack stage, which is approximately 300°F to 310°F (150°C to 154°C).
- Add Flavor and Color: Once the mixture reaches the desired temperature, remove it from the heat. Carefully add your chosen flavoring extract and a few drops of food coloring if desired. Stir quickly but gently to incorporate.
- Pour the Candy: Pour the hot candy mixture onto the prepared baking sheet. Allow it to spread evenly by tilting the sheet, but be cautious as the mixture is extremely hot.
- Let it Set: Allow the candy to cool completely at room temperature for about 30-60 minutes. Once set, break the candy into pieces using a mallet or the back of a spoon. Store in an airtight container to keep it fresh.
Tips for Success
- Safety First: Candy-making requires working with very high temperatures. Always handle the mixture with care and keep it out of reach of children.
- Avoid Crystallization: To avoid the sugar mixture crystallizing, make sure not to stir the mixture once it starts boiling.
- Flavor Combinations: Experiment with different extracts such as vanilla, almond, or even unique ones like lavender and orange for a distinctive twist.
- Storage: Hard candy can last for weeks if stored in a cool, dry place. Keep it sealed in an airtight container to maintain freshness and prevent moisture from making it sticky.
Benefits of Making Homemade Hard Candy
- Customization: Create unique flavors and colors that suit your taste.
- Fun for All Ages: This is a great activity for kids and adults alike, especially around the holiday season.
- Perfect for Gifting: Wrap individual candies in cellophane or create a gift box for friends and family.
- Quality Control: Control the ingredients, ensuring no artificial additives or preservatives.
Popular Flavor Ideas
- Classic Peppermint: Perfect for the holiday season.
- Sour Lemon: Add citric acid for a tangy twist.
- Berry Medley: Combine strawberry, blueberry, and raspberry extracts.
- Cinnamon Fire: Spice it up with cinnamon extract and red food coloring.
Final Thoughts
With this homemade hard candy recipe, you’ll be able to enjoy the art of candy-making and create sweet, individualized treats that will impress everyone. Whether you make them for special occasions, holiday gifts, or just because, your homemade candy will be a true hit. So grab your ingredients and candy thermometer, and let the fun begin!
Serving and Storage Tips for Your Homemade Hard Candy
Once you’ve made your delicious homemade hard candy, it’s important to know how to serve and store it to maintain its flavor and texture. Here are some tips for serving and storing your hard candy properly:
Serving Tips
- Presentation: Serve your homemade hard candy in clear jars, glass bowls, or decorative containers to show off the vibrant colors and shapes. Adding a ribbon or label can make it look even more appealing if you’re serving it as a gift.
- Serving Size: Hard candy is best served in small pieces, as it can be quite rich and satisfying in small amounts. This way, your guests can enjoy a piece or two at a time without overindulging.
- Pairing: Complement your hard candy with beverages like coffee, tea, or hot cocoa. For a special touch, consider serving it with homemade whipped cream or alongside a scoop of vanilla ice cream.
- Flavor Pairings: Offer a variety of flavors to create a tasting experience. A mix of fruit, mint, and cinnamon hard candies can provide a range of flavors that cater to different preferences.
Storage Tips
- Keep it Airtight: Store your hard candy in an airtight container to prevent moisture from affecting its texture. This helps keep the candy crisp and prevents it from becoming sticky or chewy.
- Avoid Humidity: Hard candy should be kept in a cool, dry place, as humidity can cause it to absorb moisture and lose its crunch. Avoid storing it near windows, in humid kitchens, or anywhere with high humidity.
- Use Parchment Paper: If you’re storing the candy in layers, place parchment paper between the layers to prevent them from sticking together.
- Temperature: Hard candy can last for a few weeks if stored properly. Avoid storing it in the refrigerator, as the cold and moisture can alter its texture.
- Labeling: If you’re making different flavors, consider labeling the storage containers so you can easily identify each type of candy.
By following these serving and storage tips, you can ensure that your homemade hard candy stays fresh and delicious for weeks to come. Whether you’re enjoying it on your own or sharing it as a gift, these tips will help keep your treats in top condition.
1. Can I use any flavoring for homemade hard candy? Yes, you can use a wide variety of flavoring extracts to customize your candy. Common options include peppermint, lemon, orange, strawberry, and cherry. For unique flavors, try using lavender, almond, or even vanilla. Just make sure the extract is safe for candy-making, as some may be water-based and could affect the texture of your candy.
2. What should I do if my candy mixture starts to crystallize? If your candy mixture starts to crystallize, it’s usually because it was stirred too much during the boiling process or the sugar wasn’t fully dissolved before heating. To prevent crystallization, avoid stirring the mixture once it begins to boil. If it does crystallize, you can sometimes rescue it by adding a small amount of water and reheating it gently until it becomes smooth again.
3. How do I know when the hard candy is ready to be taken off the heat? The most accurate way to know when your hard candy mixture is ready is by using a candy thermometer. The mixture should reach a temperature of 300°F to 310°F (150°C to 154°C), which is the hard crack stage. This stage ensures that your candy will be hard and crisp once it cools.
4. Can I use food coloring in my homemade hard candy, and how much should I use? Yes, you can use food coloring to add a fun, vibrant color to your hard candy. Add a few drops of food coloring to the mixture right after removing it from the heat. Start with 1-2 drops, and then add more if you want a deeper color. Be cautious not to add too much, as it can affect the flavor or texture. Always use gel or liquid food coloring designed for candy-making for best results.
Print
Homemade Hard Candy Recipe
- Prep Time: 10 minutes
- Chill Time: 20 minutes
- Cook Time: 30 minutes
- Total Time: 1 hour
- Yield: About 1 pound (450 g) of candy 1x
- Category: Dessert, Candy
- Cuisine: American
Description
This Homemade Hard Candy Recipe is a fun and simple way to make your own sweet treats at home. Customize the flavor and color for a personalized touch, perfect for gifting or holiday celebrations!
Ingredients
-
- 2 cups (400 g) granulated sugar
- 2/3 cup (160 ml) light corn syrup
- 3/4 cup (180 ml) water
- 1/2 teaspoon flavoring extract (such as peppermint, cinnamon, or fruit flavors)
- Food coloring (optional)
- Powdered sugar (for dusting, optional)
- Heavy-bottomed saucepan
- Candy thermometer
- Heatproof spoon or spatula
- Baking sheet lined with parchment paper or a silicone mat
- Optional: Candy molds
Instructions
- Prepare the candy setup:
- Line a baking sheet with parchment paper or a silicone mat. Lightly dust with powdered sugar if desired. If using candy molds, set them on a flat surface and lightly grease them with non-stick spray.
- Cook the candy mixture:
- In a heavy-bottomed saucepan, combine the sugar, corn syrup, and water. Stir over medium heat until the sugar dissolves completely.
- Attach a candy thermometer to the side of the saucepan, ensuring it doesn’t touch the bottom. Increase the heat to medium-high and bring the mixture to a boil without stirring.
- Heat to hard-crack stage:
- Continue cooking until the mixture reaches 300°F (150°C), the hard-crack stage. This ensures the candy will set properly and be hard. Remove from heat immediately to prevent overcooking.
- Add flavor and color:
- Carefully stir in the flavoring extract and a few drops of food coloring. Be cautious as the mixture will bubble and release steam. Stir quickly but gently until evenly combined.
- Pour and shape:
- Quickly pour the hot candy onto the prepared baking sheet or into candy molds. Spread it out evenly if needed using a heatproof spatula. If pouring onto a sheet, let it cool slightly and then score into squares or break into shards once hardened.
- Cool and store:
- Allow the candy to cool completely, about 30 minutes. If desired, lightly dust the pieces with powdered sugar to prevent sticking. Store in an airtight container at room temperature.
Notes
- Avoid humidity: Make candy on a dry day to prevent it from becoming sticky.
- Flavoring tip: Use oil-based candy flavorings for intense flavors that withstand high heat.
- Cleanup: Soak the saucepan and tools in hot water to dissolve any hardened candy residue.


