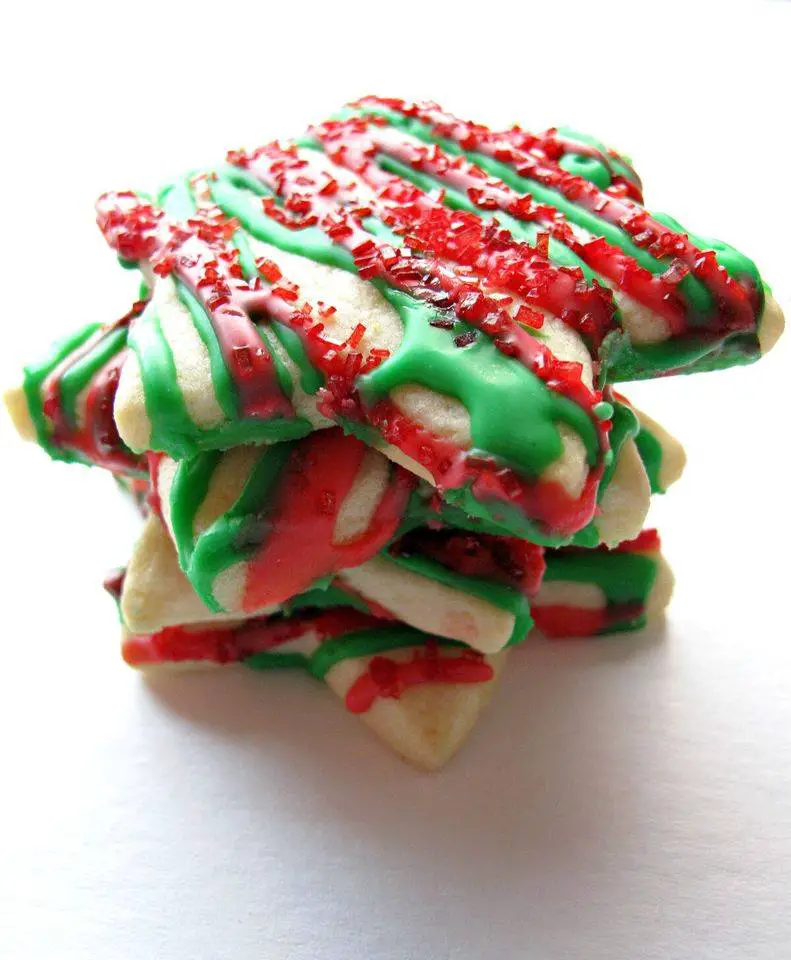
Ingredients:
For the Cookies:
- 3 cups all-purpose flour
- 3/4 teaspoon baking powder
- 1/4 teaspoon salt
- 1 cup unsalted butter, softened
- 1 cup granulated sugar
- 1 large egg, beaten
- 1 tablespoon milk
Instructions:
1. Prepare the Dough:
- In a medium-sized mixing bowl, whisk together the all-purpose flour, baking powder, and salt. Set this dry ingredient mixture aside.
- In a large mixing bowl, cream together the softened unsalted butter and granulated sugar until the mixture is light and fluffy. You can use a hand mixer or stand mixer for this.
- Add the beaten egg and tablespoon of milk to the butter-sugar mixture. Mix until well combined.
2. Combine Dry and Wet Ingredients:
- Gradually add the dry ingredient mixture to the wet ingredients in the large bowl. Mix until a dough forms. You can use a spatula or a mixer with a paddle attachment. Be careful not to overmix; just mix until the dough comes together.
3. Chill the Dough:
- Divide the cookie dough in half and shape each half into a flattened disk.
- Wrap each disk in plastic wrap and refrigerate for at least 1 hour or until the dough is firm. Chilling the dough will make it easier to roll out and cut into shapes.
4. Preheat the Oven:
- Preheat your oven to 350°F (180°C). Line baking sheets with parchment paper.
5. Roll and Cut the Cookies:
- On a floured surface, roll out one of the chilled dough disks to your desired thickness, typically about 1/4 inch thick. You can adjust the thickness based on your preference.
- Use cookie cutters of various shapes to cut out the cookies. Feel free to get creative with the shapes!
6. Bake the Cookies:
- Place the cut-out cookies on the prepared baking sheets, leaving some space between each cookie.
- Bake in the preheated oven for about 8-10 minutes, or until the edges are lightly golden. The exact baking time may vary depending on your oven, so keep a close eye on them to avoid overbaking.
7. Cool and Decorate:
- Remove the cookies from the oven and let them cool on the baking sheets for a few minutes. This allows them to set.
- After a few minutes, transfer the cookies to wire racks to cool completely.
8. Decorate Your Christmas Cookies:
- Once the cookies are completely cooled, you can decorate them to your heart’s content. Use colorful icing, sprinkles, or edible decorations to add a festive touch.
9. Enjoy:
- Your homemade Christmas cookies are now ready to enjoy! Share them with friends and family or savor them yourself.
Feel free to get creative with the decorations, and have fun making these delightful Christmas cookies. Happy baking, and enjoy the holiday season! 🍪🎄😊

