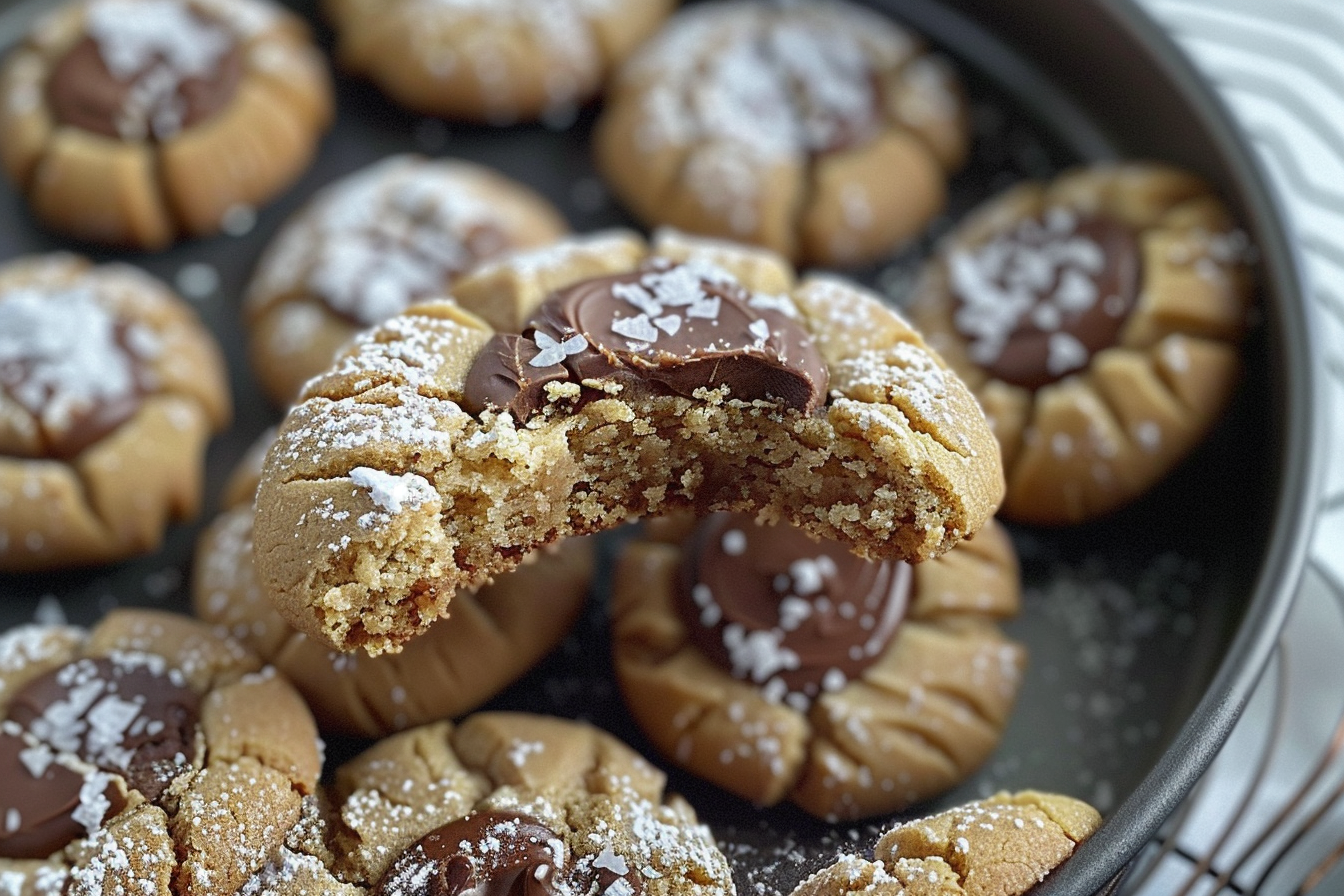
Indulge in the delightful creation of Muddy Buddy Cookies, a scrumptious treat that marries the richness of peanut butter with the sweetness of chocolate. These cookies offer a perfect balance of flavors and textures, making them a favorite for any occasion.
Ingredients:
- 1/2 cup (1 stick) butter, softened
- 1/2 cup creamy peanut butter
- 1/2 cup granulated sugar
- 1/2 cup light brown sugar
- 1 large egg
- 1 1/2 cups all-purpose flour
- 3/4 teaspoon baking powder
- 1/4 teaspoon baking soda
- 1 cup milk chocolate chips
- 1/2 teaspoon canola or vegetable oil
- 1/2 cup powdered sugar
Directions:
- Preheat your oven to 375° Fahrenheit. Prepare a cookie sheet by lining it with parchment paper or spraying it with cooking spray.
- In the bowl of a stand mixer or using a handheld blender, combine the softened butter, peanut butter, granulated sugar, and light brown sugar. Blend until the mixture becomes creamy and light in color.
- Add the egg to the mixture and blend until well combined.
- In a separate bowl, whisk together the all-purpose flour, baking powder, and baking soda.
- Gradually add the dry ingredients to the wet ingredients and blend just until combined.
- Shape the dough into 1-inch balls and place them on the prepared cookie sheet. You can fit about 15 balls on each sheet since they don’t spread much during baking.
- Bake the cookies for 8 minutes. Immediately after baking, gently press down on each cookie with a small cup to flatten them and create pretty crinkly edges.
- Allow the cookies to cool on the cookie sheet for 10 minutes, then transfer them to a cooling rack to cool completely.
Tips:
- To ensure your cookies maintain their shape, refrigerate the dough for about 30 minutes before shaping and baking.
- If you prefer a stronger chocolate flavor, consider using dark chocolate chips instead of milk chocolate chips.
- Store the cookies in an airtight container to maintain freshness.
Conclusion:
Savor the irresistible combination of peanut butter, chocolate, and powdered sugar in every bite of these Muddy Buddy Cookies. Whether enjoyed as a snack, dessert, or special treat, these cookies are sure to delight your taste buds and bring joy to any occasion. Enjoy the process of baking and sharing these delicious cookies with family and friends!
1. Can I use natural peanut butter instead of creamy peanut butter in this recipe?
- Yes, you can substitute natural peanut butter for creamy peanut butter in this recipe. However, keep in mind that natural peanut butter tends to have a thinner consistency and may alter the texture of the cookies slightly. You may need to adjust the amount of flour or baking time accordingly to achieve the desired consistency and taste.
2. Can I use dark chocolate chips instead of milk chocolate chips for the chocolate coating?
- Absolutely! Dark chocolate chips can be a delicious alternative to milk chocolate chips for the chocolate coating in Muddy Buddy Cookies. Dark chocolate offers a richer and slightly bitter flavor profile compared to milk chocolate, which can complement the sweetness of the cookies nicely. Simply melt the dark chocolate chips with canola or vegetable oil following the same instructions in the recipe.
3. Can I freeze Muddy Buddy Cookies for later consumption?
- Yes, Muddy Buddy Cookies freeze very well and can be stored in the freezer for future enjoyment. Once the cookies have cooled completely and the chocolate coating has set, place them in an airtight container or freezer-safe bag, separating layers with parchment paper to prevent sticking. Properly stored, Muddy Buddy Cookies can last in the freezer for up to 2-3 months. When ready to enjoy, simply thaw the cookies at room temperature or reheat them in the microwave for a few seconds until warmed through.
4. How do I prevent the chocolate coating from becoming too thick or clumpy when melting?
- To ensure smooth and evenly melted chocolate for the coating, it’s important to melt the chocolate chips and canola or vegetable oil at a low heat setting and stir frequently. Use a microwave-safe bowl and microwave the chocolate in short intervals, stirring every 30 seconds to prevent overheating and clumping. If the chocolate becomes too thick or difficult to work with, you can add a small amount of additional oil (1/2 teaspoon at a time) and continue stirring until the desired consistency is achieved. Be cautious not to overheat the chocolate, as this can cause it to seize and become unusable.


