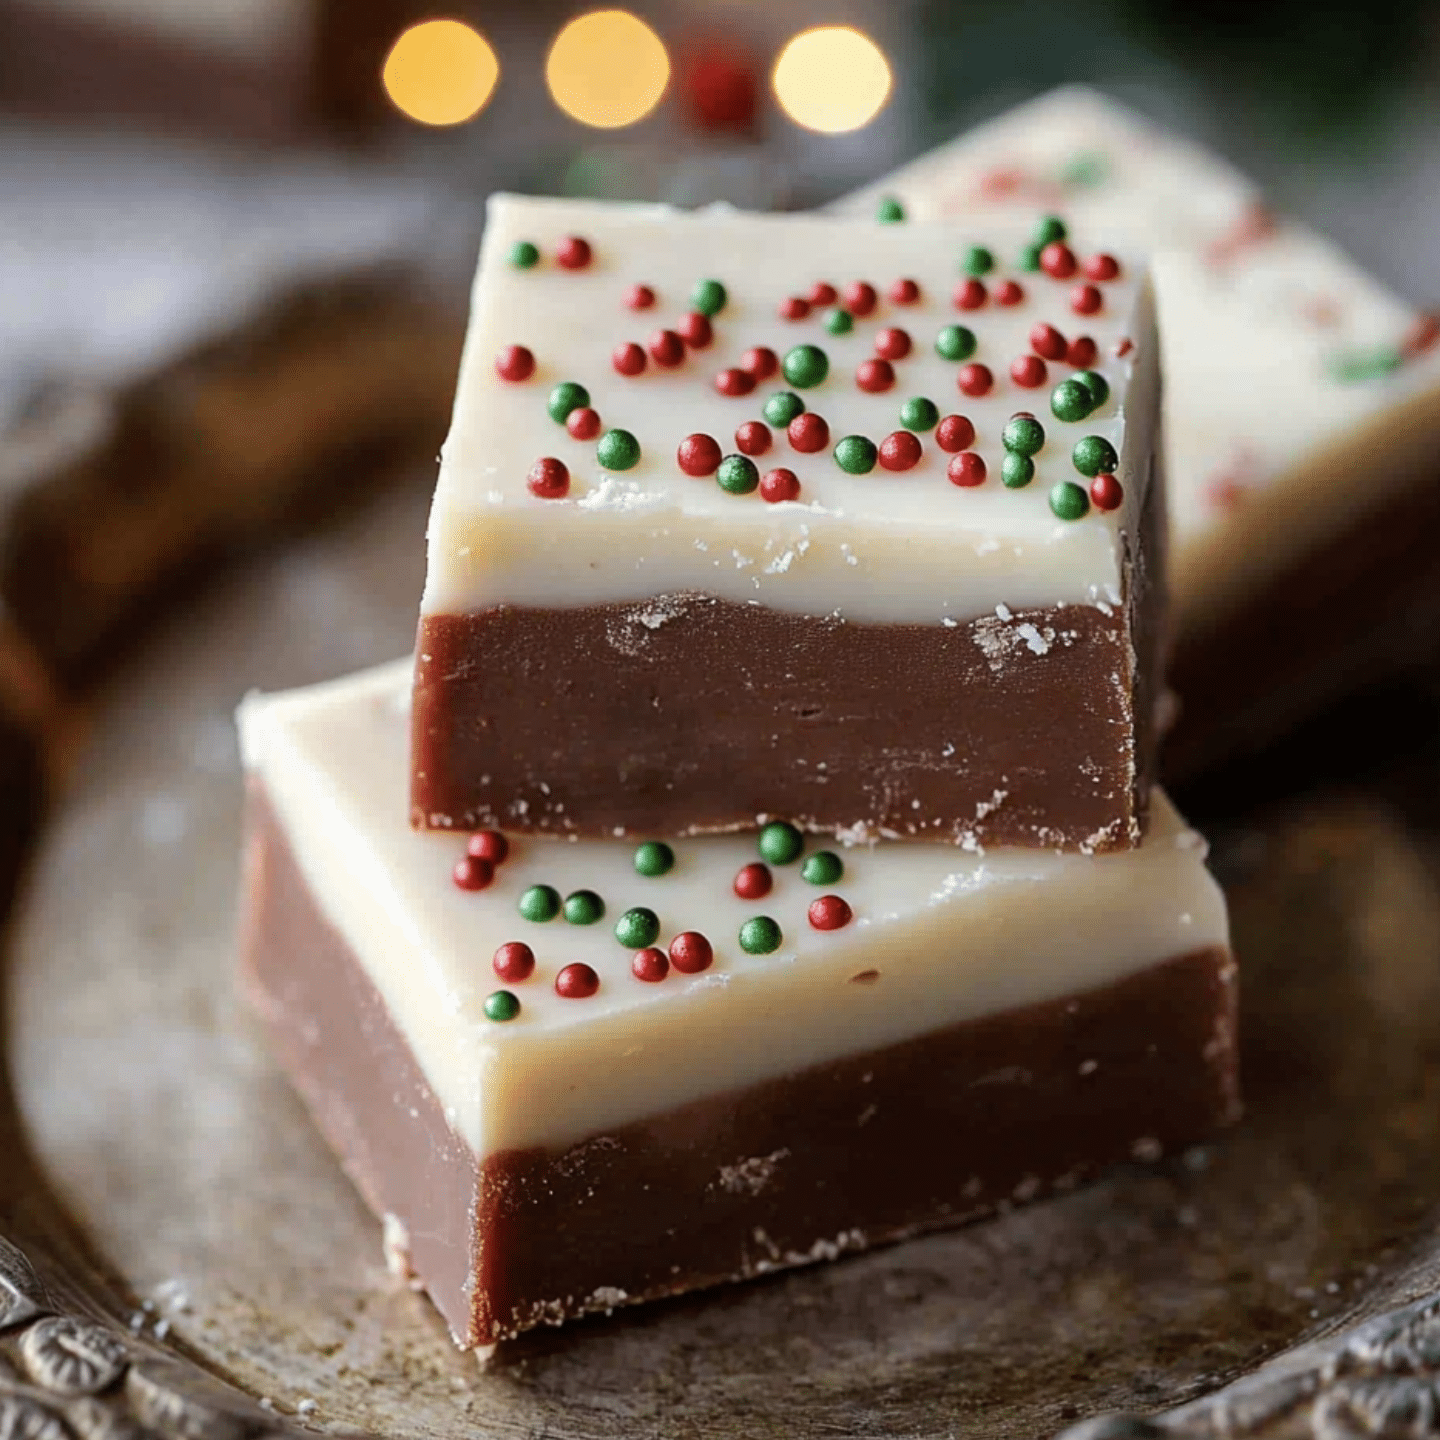
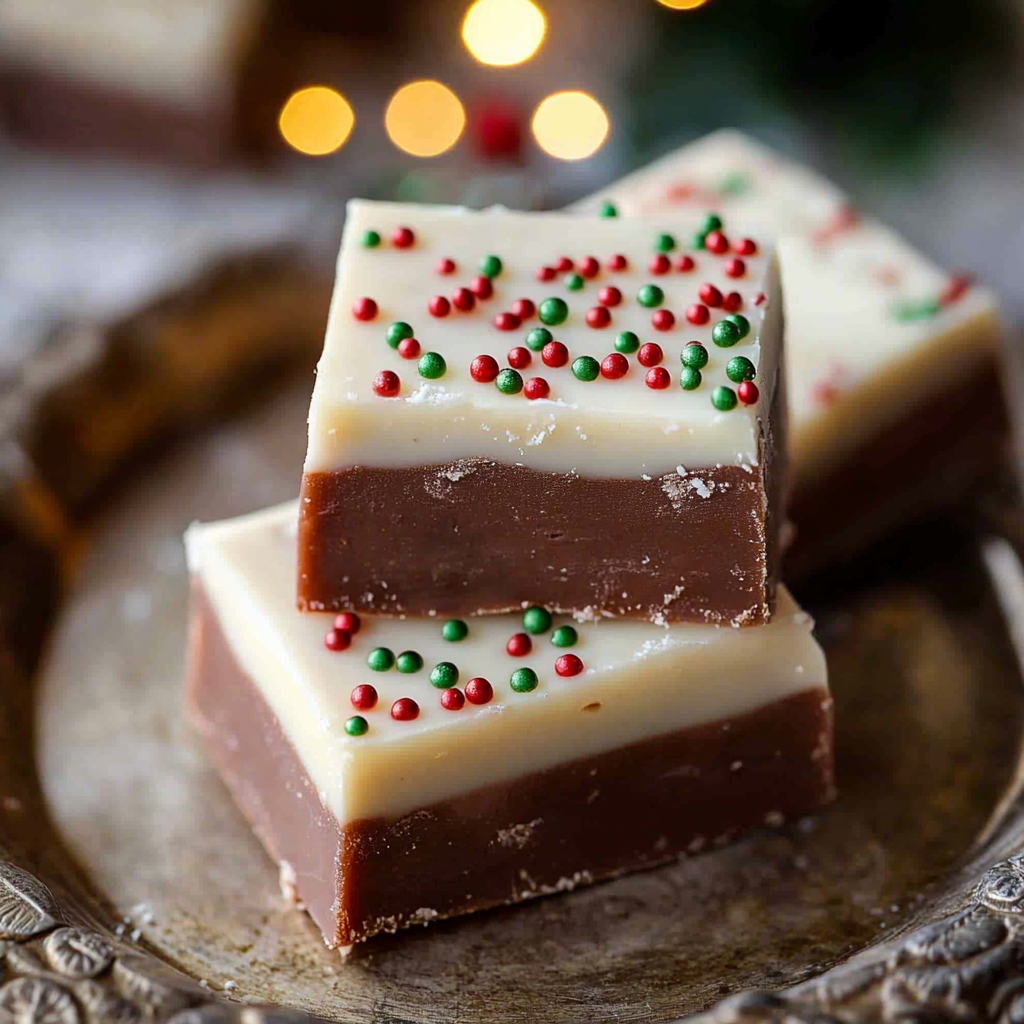
Christmas Fudge is a rich, creamy, and festive treat that’s perfect for holiday gatherings, gifting, or simply indulging during the most wonderful time of the year. This easy-to-make recipe combines decadent chocolate with holiday-inspired flavors and colorful decorations for a treat that’s both delicious and visually stunning.
Why You’ll Love This Recipe
- Easy to Make: Requires just a few simple ingredients and no special equipment.
- Customizable: Add your favorite mix-ins or flavors for a personalized touch.
- Perfect for Gifting: Wrap individual pieces in holiday-themed packaging for thoughtful homemade gifts.
- Make-Ahead Friendly: Prepare in advance for stress-free holiday planning.
- Crowd-Pleaser: Loved by kids and adults alike.
Ingredients
(Tip: You’ll find the full list of ingredients and measurements in the recipe card below.)
- Sweetened condensed milk
- Semi-sweet or dark chocolate chips
- Butter
- Vanilla extract
- Pinch of salt
- Optional mix-ins: Crushed candy canes, chopped nuts, dried fruit, or holiday sprinkles
For Decoration:
- White chocolate drizzle, festive sprinkles, or edible glitter
Directions
- Prepare the Pan:
- Line an 8×8-inch pan with parchment paper, leaving some overhang for easy removal.
- Melt the Fudge Base:
- In a medium saucepan, combine sweetened condensed milk, chocolate chips, and butter. Heat over low to medium heat, stirring constantly until smooth and melted.
- Add Vanilla and Salt:
- Remove from heat and stir in vanilla extract and a pinch of salt.
- Incorporate Mix-Ins:
- If using, fold in your chosen mix-ins like crushed candy canes, nuts, or dried fruit.
- Pour into Pan:
- Pour the fudge mixture into the prepared pan, spreading it evenly with a spatula.
- Decorate:
- Add festive sprinkles, a drizzle of white chocolate, or edible glitter to the top for a holiday touch.
- Chill and Set:
- Refrigerate for at least 2–3 hours, or until firm.
- Cut and Serve:
- Use the parchment paper to lift the fudge out of the pan. Cut into small squares and serve.
Servings and Timing
- Servings: About 25 small squares
- Prep Time: 10 minutes
- Chill Time: 2–3 hours
- Total Time: 2 hours 10 minutes
Variations
- Peppermint Fudge: Add peppermint extract and top with crushed candy canes.
- Nutty Fudge: Stir in chopped walnuts, pecans, or almonds.
- Salted Caramel Fudge: Drizzle caramel sauce and sprinkle flaky sea salt on top.
- Layered Fudge: Create layers with white chocolate or peanut butter fudge for a beautiful marbled effect.
- Gluten-Free Option: Ensure all mix-ins are gluten-free.
Storage/Reheating
- Storage: Store fudge in an airtight container in the refrigerator for up to 2 weeks.
- Freezing: Freeze fudge in a freezer-safe container for up to 3 months. Thaw in the refrigerator overnight before serving.
- Reheating: Fudge doesn’t require reheating; enjoy it straight from the fridge or at room temperature.
FAQs
1. Can I use milk chocolate instead of semi-sweet?
Yes, but the fudge will be sweeter. Adjust the sweetness by reducing the condensed milk slightly.
2. What if I don’t have sweetened condensed milk?
Sweetened condensed milk is essential for the creamy texture, so substitutes may not yield the same result.
3. How do I make fudge without a stovetop?
You can melt the ingredients in the microwave in 30-second intervals, stirring in between.
4. Can I double the recipe?
Yes, use a 9×13-inch pan if doubling the recipe.
5. How do I prevent the fudge from sticking to the knife when cutting?
Wipe the knife clean with a warm, damp cloth between cuts.
6. Can I use dairy-free chocolate?
Yes, use dairy-free chocolate chips and condensed milk for a vegan version.
7. How do I make fudge softer?
Increase the amount of butter slightly for a creamier, softer texture.
8. Can I add alcohol for an adult twist?
Yes, stir in a tablespoon of your favorite liqueur, like Bailey’s or Kahlúa, after melting the fudge base.
9. What’s the best way to gift fudge?
Wrap individual pieces in wax paper or place them in decorative tins or boxes.
10. Can I leave the fudge at room temperature?
Fudge can be left at room temperature for short periods, but it’s best stored in the refrigerator to maintain firmness.
Conclusion
The Best Christmas Fudge Recipe is a delightful holiday treat that’s easy to make and endlessly customizable. With its creamy texture, rich flavor, and festive decorations, this fudge is perfect for spreading holiday cheer. Whether you’re making it for gifting or enjoying it yourself, this recipe will quickly become a holiday tradition!
Print
The Best Christmas Fudge Recipe
- Prep Time: 10 minutes
- Cook Time: 2 hours
- Total Time: 2 hours 10 minutes
- Yield: 36 pieces 1x
- Category: Desserts, Candy, Holiday Recipes
- Method: No-Bake, Chilling
- Cuisine: American
Description
This rich and creamy Christmas fudge is easy to make and perfect for gifting or sharing during the holidays. Swirled with festive colors and topped with sprinkles, it’s a delightful treat that’s as fun to look at as it is to eat!
Ingredients
- 3 cups (525 g) white chocolate chips
- 1 can (14 oz / 396 g) sweetened condensed milk
- 1 tsp vanilla extract
- Red and green gel food coloring
- Holiday sprinkles
Instructions
1. Prepare the pan:
- Line an 8×8-inch (20×20 cm) baking pan with parchment paper, leaving an overhang for easy removal. Set aside.
2. Melt the fudge base:
- In a medium saucepan, combine the white chocolate chips and sweetened condensed milk. Heat over low heat, stirring constantly, until the chocolate is melted and the mixture is smooth. Remove from heat and stir in the vanilla extract.
3. Divide and color the fudge:
- Divide the mixture evenly into three bowls. Leave one portion white, tint one portion red, and tint the other green using gel food coloring. Stir until the colors are evenly mixed.
4. Layer and swirl the fudge:
- Drop spoonfuls of each color into the prepared pan, alternating between red, green, and white. Use a toothpick or skewer to gently swirl the colors together for a marbled effect.
5. Add sprinkles:
- Sprinkle holiday-themed sprinkles over the top of the fudge while it’s still warm. Press lightly to ensure they stick.
6. Chill and set:
- Refrigerate the fudge for at least 2 hours, or until it is firm enough to cut.
7. Cut and serve:
- Use the parchment overhang to lift the fudge out of the pan. Cut into small squares or rectangles and serve.
Notes
- Flavor Variations: Add 1/2 tsp peppermint extract or almond extract for a festive twist.
- Mix-Ins: Stir in crushed candy canes, mini marshmallows, or chopped nuts before layering.
- Storage: Store fudge in an airtight container at room temperature for up to 1 week or in the refrigerator for up to 2 weeks.


