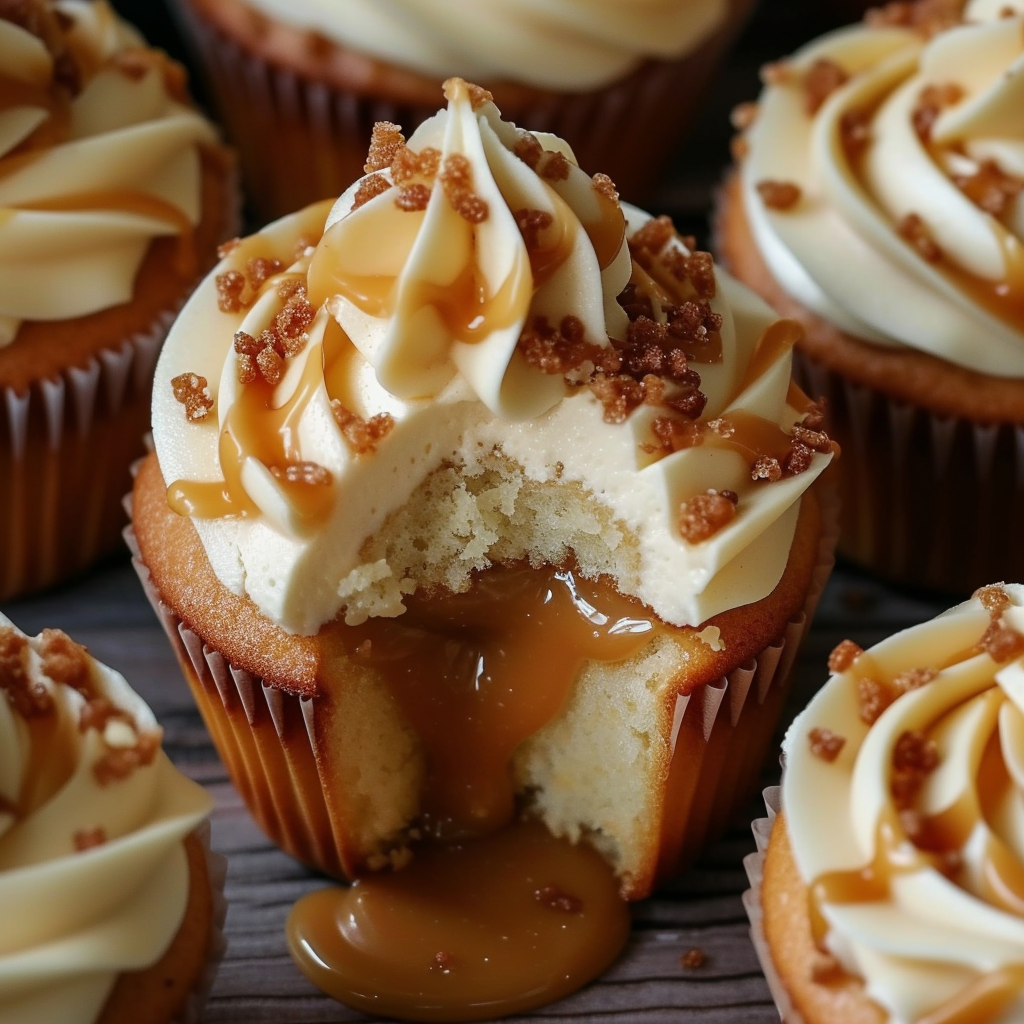
Indulge your taste buds with the irresistible allure of Salted Caramel Cupcakes. These delectable treats offer a perfect balance of sweet and salty flavors, sure to captivate any dessert enthusiast. With a moist sponge infused with rich caramel goodness and topped with creamy buttercream, these cupcakes are a delightful homemade delicacy bound to impress friends and family alike.
Ingredients:
- 175g Butter or baking spread
- 175g Light brown sugar
- 3 Large eggs
- 1 tsp Vanilla extract
- 175g Self-raising flour
- 200g Butter
- 400g Icing sugar
- 2 tsp Salted caramel flavouring
- 1 tbsp Milk
- 200g Salted caramel sauce
- 75g Salted caramel fudge, chopped (optional)
Directions:
- Preparation: Preheat your oven to 160°C Fan/180°C/350°F/Gas Mark 4. Line a cupcake tin with cupcake cases.
- Making the Sponge: In a bowl, cream together the butter and light brown sugar until fluffy using an electric mixer. Incorporate the eggs and vanilla extract, whisking thoroughly. Gradually add the self-raising flour, gently whisking until combined.
- Baking: Divide the mixture evenly among the cupcake cases. Bake for 20-25 minutes or until the cupcakes turn golden brown and a skewer inserted into the center comes out clean. Allow them to cool completely on a wire rack.
- Filling: Use a cupcake corer or a knife to create a hollow in the center of each cupcake. Fill the cavity with salted caramel sauce.
- Making the Buttercream: Combine the butter and icing sugar until smooth. Add the salted caramel flavoring and milk, mixing until the buttercream achieves a creamy consistency.
- Decorating: Pipe or spread the buttercream onto each cupcake. Sprinkle chopped fudge on top and drizzle more salted caramel sauce for a decadent finish.
- Storage: Store the cupcakes in an airtight container in a cool place and consume within 3 days for optimal freshness.
Tips:
- Ensure the cupcakes are completely cooled before filling and frosting to prevent the buttercream from melting.
- Experiment with different piping techniques to create visually stunning cupcakes.
- For added indulgence, top the cupcakes with additional caramel drizzle just before serving.
Conclusion:
In summary, these Salted Caramel Cupcakes are a delightful confectionery masterpiece that promises to elevate any occasion. With their moist sponge, luscious caramel filling, and creamy buttercream topping, they offer a symphony of flavors that will leave a lasting impression on your palate. Whether for afternoon tea, special celebrations, or simply to satisfy your sweet cravings, these homemade treats are a true testament to the joy of baking and sharing delicious desserts.
- Can I use regular caramel sauce instead of salted caramel sauce for this recipe?
- Absolutely! While the recipe calls for salted caramel sauce, you can certainly substitute it with regular caramel sauce if you prefer a sweeter flavor profile. The salted caramel sauce adds a delightful contrast of sweet and salty notes, but feel free to adjust according to your taste preferences.
- Can I make these cupcakes in advance and freeze them for later?
- Yes, you can! These cupcakes freeze quite well, especially before frosting. Once the cupcakes have cooled completely after baking, you can wrap them individually in plastic wrap and then store them in an airtight container or freezer bag. When you’re ready to enjoy them, simply thaw them at room temperature, prepare the frosting, and decorate as desired.
- What if I don’t have salted caramel flavoring for the buttercream?
- If you don’t have salted caramel flavoring on hand, you can improvise by adding a pinch of sea salt to regular caramel flavoring. Alternatively, you can enhance the buttercream with a few tablespoons of salted caramel sauce to infuse that irresistible salted caramel flavor. Taste the buttercream as you go and adjust the amount of salt or caramel flavoring according to your preference.
- Can I make these cupcakes gluten-free?
- Yes, you can adapt this recipe to be gluten-free by substituting the self-raising flour with a gluten-free flour blend. Make sure the flour blend contains a raising agent like baking powder to help the cupcakes rise. Additionally, ensure that all other ingredients used, such as the caramel sauce and fudge, are gluten-free as well. By making these simple substitutions, you can still enjoy the delightful taste of salted caramel cupcakes while catering to dietary restrictions.
- How do I prevent the cupcakes from becoming dry?
- To prevent dry cupcakes, make sure not to overbake them. Keep an eye on the cupcakes as they bake and remove them from the oven as soon as a skewer inserted into the center comes out clean. Additionally, storing the cupcakes in an airtight container helps retain moisture. Filling the cupcakes with salted caramel sauce also adds moisture and flavor to each bite. Finally, ensure your buttercream is smooth and creamy to complement the moistness of the cupcakes.
- Can I add other toppings besides salted caramel fudge?
- Absolutely! While salted caramel fudge adds a delightful crunch and extra caramel flavor, you can get creative with other toppings. Consider sprinkling crushed nuts like pecans or walnuts for added texture, or garnish with chocolate shavings or edible flowers for an elegant touch. You can customize the toppings to suit your taste preferences or the occasion you’re serving the cupcakes for.
- How can I prevent my buttercream from becoming too runny or too stiff?
- Achieving the perfect consistency for buttercream can be tricky. If your buttercream is too runny, try adding more icing sugar gradually until it thickens to the desired consistency. Conversely, if your buttercream is too stiff, you can add a splash of milk or cream to soften it up. It’s important to adjust the ingredients gradually and mix thoroughly to achieve a smooth and creamy texture that is easy to pipe or spread onto the cupcakes.

