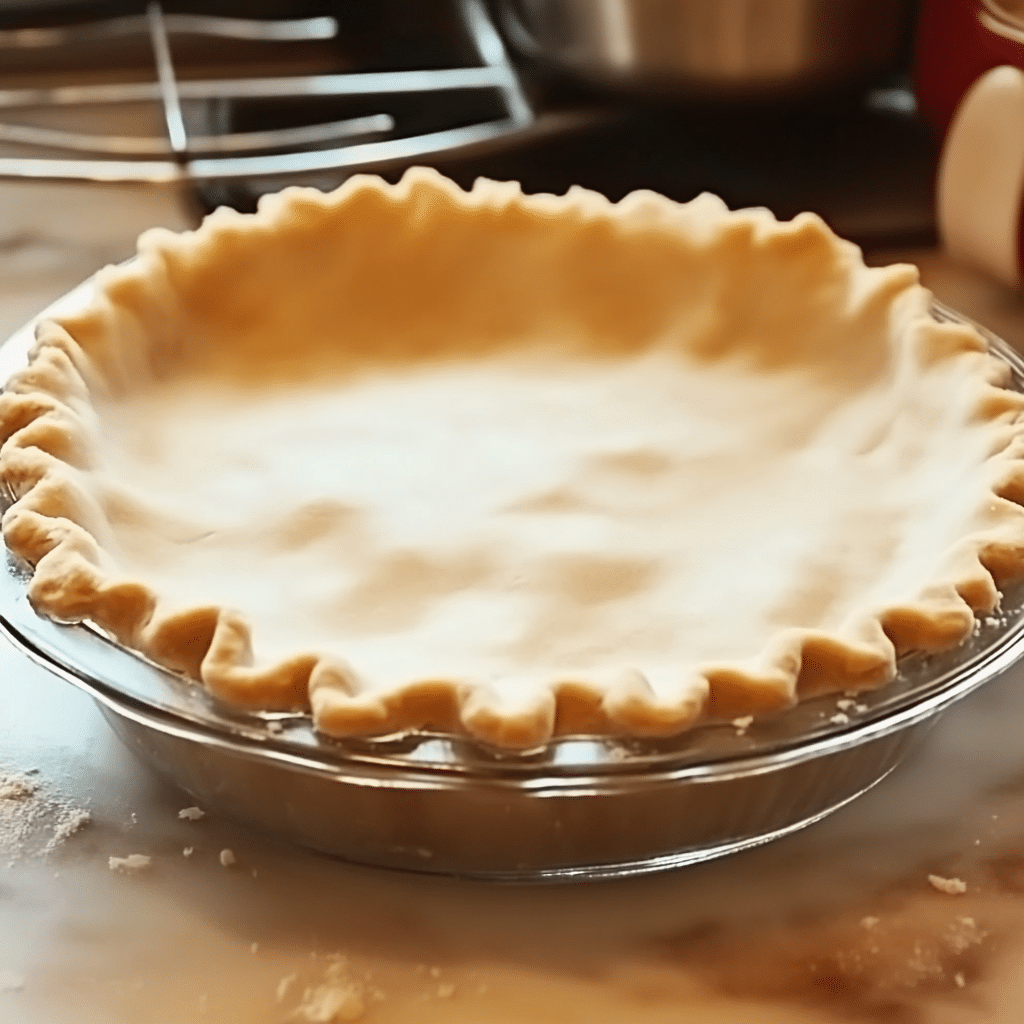
Ruth’s Grandma’s Pie Crust is a cherished family recipe that has stood the test of time. With its buttery, flaky texture and unbeatable taste, this pie crust is the perfect base for any pie, sweet or savory.
Why You’ll Love This Recipe
- Time-Tested Flavor: Passed down through generations, this recipe guarantees classic, homemade taste.
- Perfect Texture: Buttery, flaky, and tender—ideal for any type of pie.
- Versatile: Works beautifully for fruit pies, custard pies, and even savory quiches.
- Simple Ingredients: Uses pantry staples, making it easy to prepare anytime.
- Beginner-Friendly: Straightforward instructions ensure success for bakers of all levels.
Ingredients
(Tip: You’ll find the full list of ingredients and measurements in the recipe card below.)
- All-purpose flour
- Unsalted butter, chilled and cubed
- Shortening, chilled
- Salt
- Ice water
Directions
- Mix Dry Ingredients:
- In a large mixing bowl, whisk together the flour and salt.
- Cut in Fats:
- Add the cubed butter and shortening to the flour mixture.
- Use a pastry cutter or your fingertips to work the fats into the flour until the mixture resembles coarse crumbs.
- Add Ice Water:
- Gradually add ice water, one tablespoon at a time, mixing gently with a fork.
- Continue until the dough comes together but is not sticky. Avoid overmixing.
- Chill the Dough:
- Divide the dough into two disks, wrap them in plastic wrap, and refrigerate for at least 1 hour or up to 2 days.
- Roll Out the Dough:
- On a lightly floured surface, roll out one disk of dough to fit your pie pan. Keep the second disk for another layer if making a double-crust pie.
- Assemble and Bake:
- Follow your pie recipe’s instructions for filling and baking.
Servings and Timing
- Yield: 2 crusts (enough for one double-crust pie or two single-crust pies)
- Prep Time: 15 minutes
- Chilling Time: 1 hour
- Total Time: 1 hour 15 minutes (plus baking time as required by your pie recipe)
Variations
- Whole-Wheat Option: Replace half the all-purpose flour with whole wheat flour for a nutty flavor.
- Gluten-Free: Use a gluten-free flour blend with a binding agent for a gluten-free version.
- All-Butter Crust: Replace the shortening with butter for a purely buttery flavor.
- Flavored Crust: Add a teaspoon of cinnamon or lemon zest for an extra layer of flavor.
- Savory Crust: Include herbs like thyme or rosemary for a crust that pairs well with quiches or meat pies.
Storage/Reheating
- Refrigeration: Keep the dough wrapped in plastic wrap in the refrigerator for up to 2 days.
- Freezing: Freeze the dough disks for up to 3 months. Thaw overnight in the refrigerator before rolling out.
- Pre-Baked Crust: Store baked crusts in an airtight container at room temperature for 2 days or in the freezer for up to a month.
FAQs
Why is the butter and shortening chilled?
Chilled fats ensure a flaky texture by creating steam pockets during baking.
Can I make this crust without shortening?
Yes, you can use all butter, but the shortening adds tenderness to the crust.
Why is ice water used?
Ice water prevents the fats from melting during mixing, maintaining the crust’s flakiness.
Can I use a food processor to make the dough?
Yes, pulse the ingredients together, but be careful not to overprocess.
How do I prevent the dough from cracking while rolling?
Let the dough rest at room temperature for 5–10 minutes before rolling.
What’s the best way to transfer the dough to the pie pan?
Roll the dough onto the rolling pin, then unroll it over the pie pan for easy placement.
Should I blind bake this crust?
Blind baking is recommended for custard or cream pies to prevent a soggy bottom.
How do I keep the crust edges from burning?
Cover the edges with foil or a pie crust shield during baking.
Can I make this crust dairy-free?
Use vegan butter and shortening for a dairy-free version.
Why does my crust shrink?
Shrinking occurs if the dough is overworked or not chilled long enough before baking.
Conclusion
Ruth’s Grandma’s Pie Crust is a timeless recipe that guarantees success every time. Its buttery, flaky texture makes it the perfect complement to any filling, from sweet to savory. Whether you’re a seasoned baker or trying your hand at pie-making for the first time, this recipe will quickly become a favorite in your kitchen. Give it a try and enjoy the warmth of homemade pie, just like grandma used to make!
Print
Ruth’s Grandma’s Pie Crust
- Prep Time: 15 minutes
- Cook Time: 1 hou
- Total Time: 1 hour 15 minutes
- Yield: 1 double crust or 2 single crusts 1x
- Category: Baking, Pie Crusts
- Method: Pastry making
- Cuisine: American
Description
A tried-and-true family recipe, Ruth’s Grandma’s Pie Crust is tender, flaky, and perfect for any pie filling. Easy to work with and utterly delicious, it’s a must-have for your baking repertoire.
Ingredients
- 2 1/2 cups (315 g) all-purpose flour
- 1 tsp salt
- 1 tbsp granulated sugar (optional, for sweet pies)
- 1 cup (225 g) cold unsalted butter, cut into small cubes
- 1/4–1/2 cup (60-120 ml) ice water
Instructions
1. Mix the dry ingredients:
- In a large mixing bowl, whisk together the flour, salt, and sugar (if using).
2. Cut in the butter:
- Add the cold butter to the bowl. Using a pastry cutter or your fingertips, work the butter into the flour mixture until it resembles coarse crumbs with some pea-sized pieces of butter remaining.
3. Add the water:
- Gradually add the ice water, 1 tablespoon at a time, mixing with a fork or your hands until the dough just comes together. Be careful not to overmix. The dough should hold together when pressed but not be sticky.
4. Chill the dough:
- Divide the dough in half, shape each half into a disk, and wrap tightly in plastic wrap. Refrigerate for at least 1 hour or up to 2 days.
5. Roll out the crust:
- On a lightly floured surface, roll out one disk of dough to fit your pie dish, about 1/8 inch thick. Gently transfer it to the dish, pressing lightly to fit. Trim the edges, leaving about 1 inch of overhang if adding a top crust.
- If using a top crust, roll out the second disk of dough.
6. Assemble and bake:
- Fill the pie with your desired filling, cover with the top crust (if applicable), and crimp the edges to seal. Cut a few small slits in the top crust to allow steam to escape.
- Follow the baking instructions for your specific pie recipe.
Notes
- For a perfectly flaky crust, keep the butter as cold as possible and avoid overworking the dough.
- If you don’t have a pastry cutter, use two knives or a food processor to cut in the butter.
- Blind baking (pre-baking the crust): If your recipe calls for a pre-baked crust, line the unbaked crust with parchment paper, fill with pie weights or dried beans, and bake at 375°F (190°C) for 15–20 minutes.

