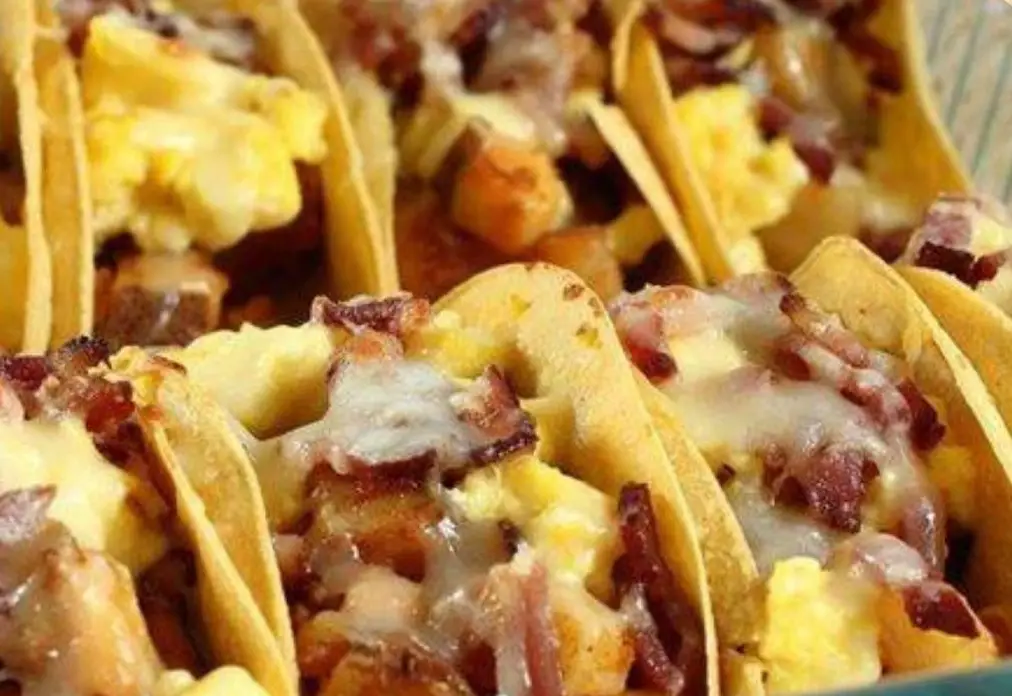
Start your day off right with a delightful twist on a breakfast classic: Oven-Baked Breakfast Tacos! These tacos offer a perfect combination of crispy taco shells, fluffy eggs, savory cheese, and flavorful sausage, all baked to golden perfection. They’re not only delicious but also easy to prepare, making them a fantastic choice for a hearty breakfast that will energize you for the day ahead.
Ingredients:
- 8 taco shells
- 8 large eggs
- 1/2 cup milk
- 1/4 teaspoon salt
- 1/4 teaspoon black pepper
- 1 cup shredded Cheddar cheese
- 1/2 cup cooked and crumbled breakfast sausage
- 1/4 cup diced green bell pepper
- 1/4 cup diced red bell pepper
- 1/4 cup diced onion
- Salsa, sour cream, and cilantro for garnish
Directions:
- Preheat the oven to 375°F (190°C).
- Arrange the taco shells in a 9×13-inch baking dish, standing up.
- In a medium bowl, whisk together eggs, milk, salt, and pepper.
- Stir in the cheese, sausage, green pepper, red pepper, and onion.
- Pour the egg mixture evenly into the taco shells.
- Bake for 18-20 minutes, or until the eggs are set and the tops are golden brown.
- Garnish with salsa, sour cream, and cilantro before serving.
Tips:
- Customize your tacos by adding your favorite ingredients such as diced tomatoes, avocado slices, or hot sauce.
- Ensure the taco shells are standing upright in the baking dish to prevent the filling from spilling out.
- For a healthier option, you can use whole wheat taco shells and turkey sausage instead of traditional options.
Conclusion:
These Oven-Baked Breakfast Tacos are a delightful way to start your morning with a burst of flavor and energy. Whether you’re serving them for a leisurely weekend brunch or a quick weekday breakfast, they are sure to be a hit with everyone at the table. Enjoy the crispy, cheesy, and savory goodness of these tacos, and savor the satisfaction of a breakfast done right!
- Can I Prepare Oven-Baked Breakfast Tacos Ahead of Time?
- Absolutely! You can prepare the filling for the tacos ahead of time and store it in an airtight container in the refrigerator for up to 24 hours. When you’re ready to bake the tacos, simply fill the taco shells with the prepared mixture and bake according to the recipe instructions. This makes it convenient for busy mornings or when you want to enjoy a delicious breakfast without the hassle of cooking from scratch.
- Are There Any Variations I Can Make to the Recipe to Suit Dietary Restrictions or Preferences?
- Yes, there are several ways you can customize this recipe to accommodate dietary restrictions or preferences. For a vegetarian option, you can omit the sausage and add extra vegetables such as mushrooms, spinach, or zucchini to the filling. If you’re lactose intolerant or following a dairy-free diet, you can use dairy-free cheese alternatives or skip the cheese altogether. Additionally, you can use corn tortillas instead of taco shells for a gluten-free option.
- What Can I Serve Alongside Oven-Baked Breakfast Tacos for a Complete Meal?
- Oven-Baked Breakfast Tacos pair well with a variety of side dishes to create a satisfying and balanced meal. You can serve them with fresh fruit salad, avocado slices, or a side of roasted potatoes for added texture and flavor. If you’re hosting a brunch or breakfast gathering, consider offering a selection of toppings such as diced tomatoes, sliced jalapeños, or guacamole to allow guests to customize their tacos according to their taste preferences.
- How Do I Store Leftover Oven-Baked Breakfast Tacos?
- If you have leftover Oven-Baked Breakfast Tacos, you can store them in an airtight container in the refrigerator for up to 2-3 days. To reheat, simply place the tacos on a baking sheet and warm them in a preheated oven at 350°F (175°C) for 8-10 minutes, or until heated through. Alternatively, you can microwave individual tacos for 30-60 seconds until warm. Just keep in mind that the texture may vary slightly upon reheating, but the flavors will still be delicious.

