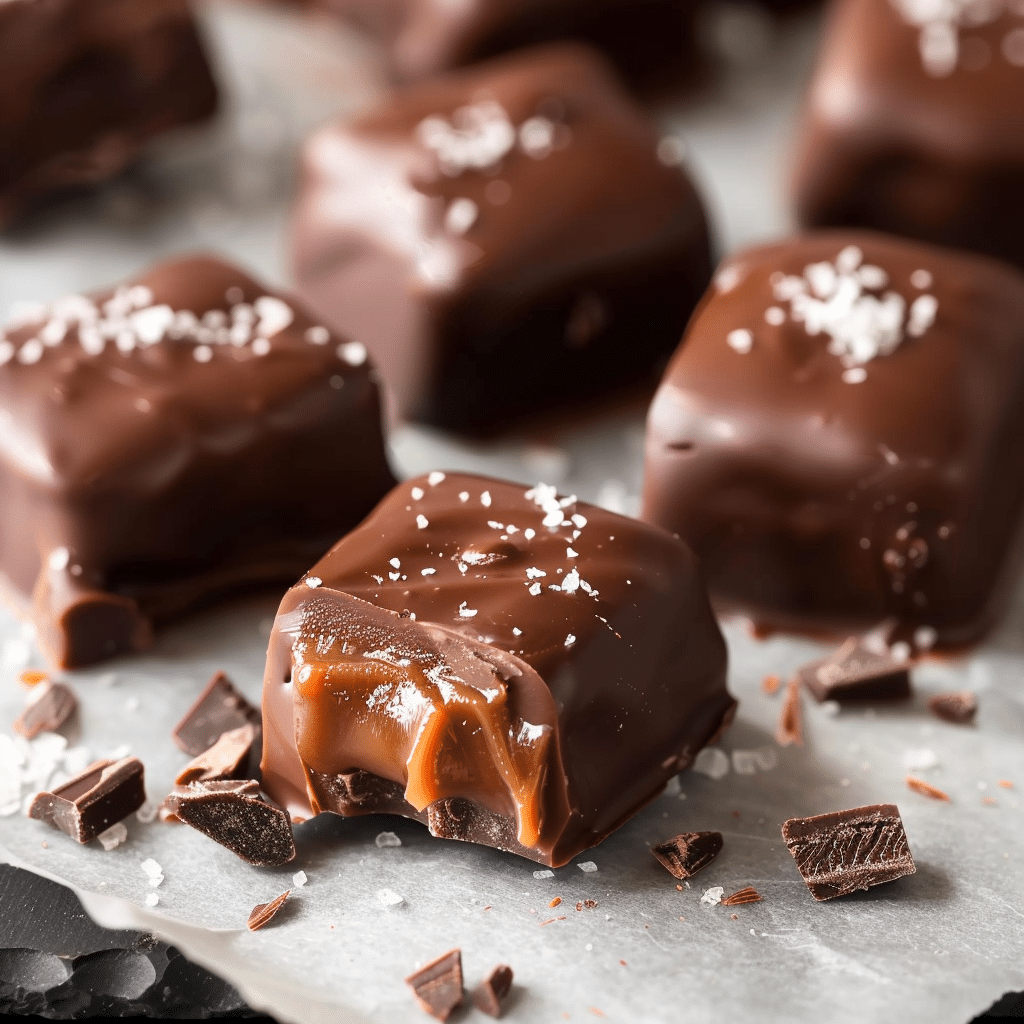
Homemade chocolate caramels are a delightful treat that combines the rich flavors of caramel and chocolate. This recipe offers a simple yet satisfying way to create these indulgent candies in the comfort of your own kitchen.
Ingredients:
- ¼ cup butter
- ½ cup sugar
- ½ cup brown sugar
- ½ cup light corn syrup
- ½ cup sweetened condensed milk
- 3 cups milk chocolate chips
- 2 teaspoons vegetable oil
- 1 teaspoon coarse sea salt (for topping)
Directions:
- Combine butter, sugars, corn syrup, and sweetened condensed milk in a microwave-safe bowl until smooth.
- Cook the mixture for 6 minutes in your microwave, removing and stirring every two minutes to ensure even cooking.
- Once the caramel is done cooking, pour it into a 9 x 9 inch baking pan that has been sprayed with nonstick cooking spray.
- Allow the caramel to cool completely, then cut it into squares.
- Place the caramel squares on a wax-lined baking sheet and ensure they are completely set up before dipping them.
- In a microwave-safe bowl, melt the chocolate chips and vegetable oil in 30-second intervals, stirring in between, until smooth.
- Dip each caramel square into the melted chocolate, then place them on a baking sheet lined with wax paper. Repeat this process until all the caramels have been dipped.
- Top each chocolate-covered caramel with a sprinkle of coarse sea salt, then allow them to cool until the chocolate has hardened.
Tips:
- Be cautious when handling the hot caramel mixture, as it can cause burns.
- Ensure that the caramel squares are fully cooled and set before dipping them in the melted chocolate to prevent them from melting.
- Use high-quality chocolate chips for the best flavor and texture in your homemade chocolate caramels.
Conclusion:
Indulge in the rich and decadent flavors of homemade chocolate caramels with this easy-to-follow recipe. Perfect for gifting or enjoying as a sweet treat, these candies are sure to delight your taste buds with every bite. With simple ingredients and straightforward steps, you can create delicious homemade chocolate caramels that will impress family and friends alike.
- Why is it important to use a microwave-safe bowl for cooking the caramel mixture?
- Using a microwave-safe bowl ensures that the heat is evenly distributed and that the bowl can withstand the high temperatures generated during the cooking process. This prevents the risk of the bowl melting or causing damage to your microwave. Additionally, microwave-safe materials are designed to withstand the rapid heating and cooling cycles of microwave cooking, ensuring the safety of both your kitchen equipment and your food.
- Can I substitute dark chocolate chips for milk chocolate chips in this recipe?
- Yes, you can definitely substitute dark chocolate chips for milk chocolate chips if you prefer a richer, more intense chocolate flavor. Dark chocolate tends to have a higher cocoa content and less sugar than milk chocolate, so keep in mind that the resulting caramels may have a slightly different taste profile. Adjust the amount of chocolate chips according to your personal preference and taste. Dark chocolate lovers may find that using dark chocolate chips adds a delightful depth of flavor to the caramels.
- How long do I need to let the caramel mixture cool before cutting it into squares?
- It’s crucial to allow the caramel mixture to cool completely before attempting to cut it into squares. This cooling process typically takes about 1 to 2 hours, depending on the temperature of your kitchen and the thickness of the caramel layer. Placing the baking pan in the refrigerator can expedite the cooling process, but be sure to cover the pan to prevent any odors from affecting the caramel. Once the caramel has cooled and set, use a sharp knife to cut it into squares of your desired size. Cutting the caramel while it’s still warm may result in a messy and uneven texture.
- What is the purpose of adding vegetable oil to the melted chocolate for dipping?
- The vegetable oil serves several purposes when added to the melted chocolate for dipping the caramel squares. Firstly, it helps to thin out the chocolate, making it easier to coat the caramels evenly and achieve a smooth, glossy finish. Without the vegetable oil, the melted chocolate may be too thick and difficult to work with, resulting in unevenly coated caramels. Secondly, the vegetable oil helps to improve the fluidity of the chocolate, allowing it to flow more smoothly over the surface of the caramel squares and ensuring that they are fully covered. Lastly, the vegetable oil can help prevent the chocolate from becoming too firm or brittle once it has hardened, resulting in a more velvety texture that melts in your mouth.

