
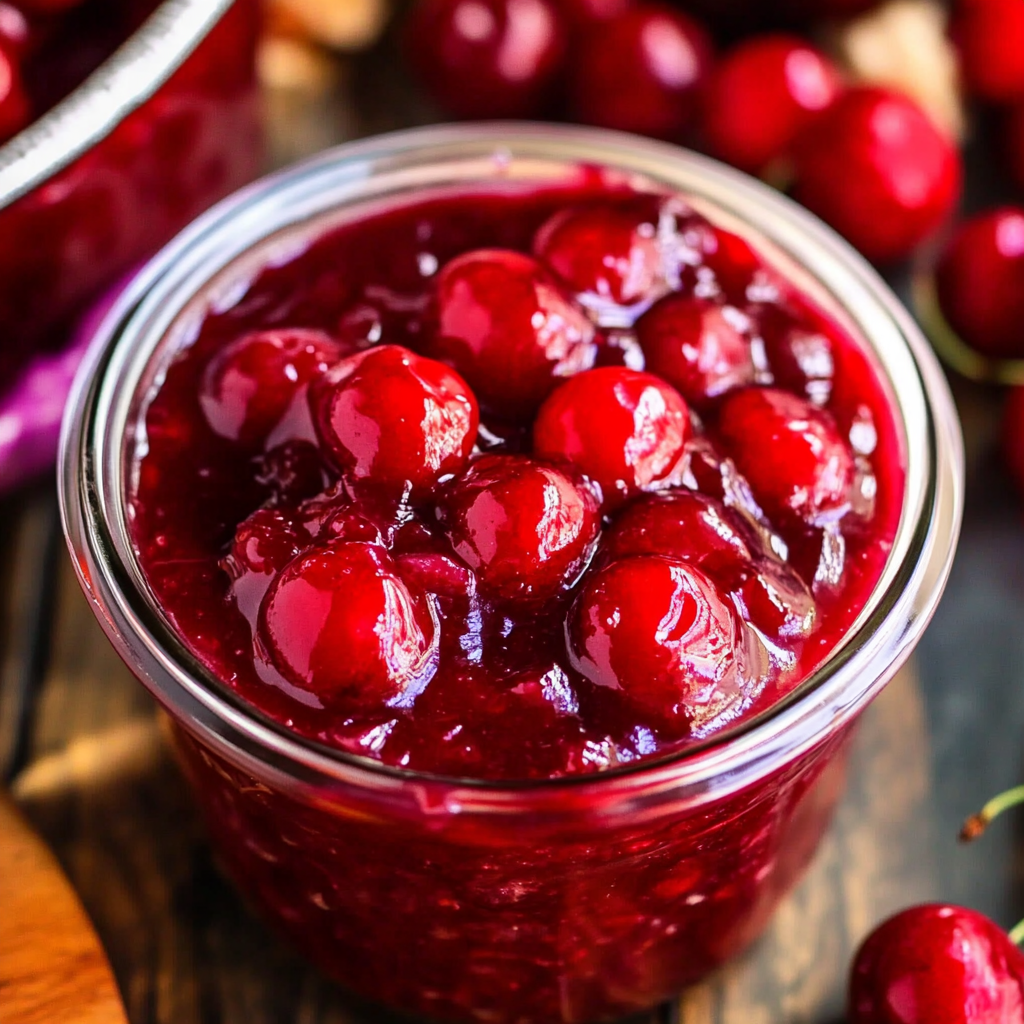
Homemade cherry pie filling is a rich, sweet, and slightly tart filling perfect for pies, tarts, cheesecakes, and other desserts. Made with fresh or frozen cherries and a few pantry staples, this filling is far superior to store-bought versions, offering a deep cherry flavor with just the right amount of sweetness and thickness.
Why You’ll Love This Recipe
- Better Than Store-Bought: No artificial flavors or preservatives.
- Versatile: Use it for pies, cheesecakes, pastries, or as a topping.
- Easy to Make: Comes together in just a few minutes.
- Adjustable Sweetness: Control the sugar level based on your preference.
- Works with Fresh or Frozen Cherries: Enjoy it year-round.
Ingredients
(Tip: You’ll find the full list of ingredients and measurements in the recipe card below.)
- Cherries (fresh or frozen, pitted)
- Granulated sugar
- Cornstarch
- Lemon juice
- Water
- Almond extract (optional, for extra depth of flavor)
Directions

- Prepare the Cherries: If using fresh cherries, wash, pit, and halve them. If using frozen, thaw and drain excess liquid.
- Cook the Mixture: In a saucepan over medium heat, combine the cherries, sugar, lemon juice, and water. Stir occasionally and let it simmer for about 5 minutes.
- Thicken the Filling: Mix cornstarch with a little water to create a slurry, then add it to the cherries. Stir continuously until the mixture thickens.
- Add Flavoring: Remove from heat and stir in almond extract if using.
- Cool & Use: Let the filling cool before using it in pies or other desserts.
Servings and Timing
- Servings: Makes enough filling for one 9-inch pie
- Prep Time: 10 minutes
- Cook Time: 10 minutes
- Total Time: 20 minutes
Variations
- Tart Cherry Version: Use sour cherries and increase the sugar slightly.
- Spiced Cherry Filling: Add a pinch of cinnamon or nutmeg for warmth.
- Boozy Cherry Pie Filling: Stir in a splash of bourbon or amaretto for an adult twist.
- Extra Fruity: Mix in raspberries or blueberries for a unique flavor.
- Sugar-Free Option: Use a sugar substitute like monk fruit or stevia.
Storage/Reheating
- Refrigeration: Store in an airtight container in the fridge for up to one week.
- Freezing: Freeze in a sealed container for up to three months. Thaw in the fridge before using.
- Reheating: Warm on the stove over low heat, adding a little water if too thick.
FAQs
Can I use canned cherries instead of fresh or frozen?
Yes! Just drain them and reduce the sugar slightly, as canned cherries are often packed in syrup.
How do I make this filling thicker?
Increase the cornstarch slightly or simmer longer until it reaches the desired consistency.
Why is my cherry pie filling too runny?
It may need more cornstarch or additional cooking time to thicken.
Can I make this ahead of time?
Yes! It stores well in the fridge or freezer for later use.
Can I use this filling for cheesecake?
Absolutely! It makes a great topping for cheesecakes and other desserts.
What type of cherries work best?
Sweet cherries like Bing or Rainier are great for a classic filling, while sour cherries create a more tart flavor.
Can I make this without cornstarch?
Yes, you can use arrowroot powder or flour as a thickening agent.
How can I make the filling less sweet?
Reduce the sugar or use tart cherries for a more balanced taste.
Is almond extract necessary?
No, but it enhances the cherry flavor beautifully. You can also use vanilla extract.
Can I use this for turnovers or hand pies?
Yes! Just ensure it’s thick enough to prevent leakage when baking.
Conclusion
Homemade cherry pie filling is a simple, delicious way to elevate your favorite desserts. Whether you’re making a classic cherry pie, topping a cheesecake, or adding it to breakfast dishes, this easy recipe delivers fresh, authentic cherry flavor with every bite. Enjoy it fresh, store it for later, and use it in countless sweet treats!
Print
Cherry Pie Filling
- Prep Time: 5 minutes
- Cook Time: 10 minutes
- Total Time: 15 minutes
- Category: Dessert, Pie Filling, Sauce
- Method: Stovetop
- Cuisine: American, Classic
Description
This homemade cherry pie filling is sweet, slightly tart, and perfect for pies, cheesecakes, pastries, or even as a topping for pancakes and ice cream. It’s quick, easy, and way better than canned!
Ingredients
- 4 cups (600 g) fresh or frozen cherries, pitted 🍒
- 3/4 cup (150 g) granulated sugar
- 2 tablespoons cornstarch
- 1/4 cup (60 ml) water (or cherry juice)
- 1 tablespoon lemon juice 🍋
- 1/2 teaspoon vanilla extract (optional)
- 1/4 teaspoon almond extract (optional, but enhances cherry flavor)
- 1 pinch salt
Instructions
1. Cook the Cherries
- In a medium saucepan, combine the cherries, sugar, and ½ of the water (2 tablespoons) over medium heat.
- Stir and cook until the cherries start to release their juices (about 5 minutes).
2. Thicken the Filling
- In a small bowl, mix cornstarch with the remaining water until smooth.
- Pour the cornstarch mixture into the cherries, stirring constantly.
- Cook for 3-5 more minutes, or until the mixture thickens and becomes glossy.
3. Add Final Touches
- Remove from heat and stir in lemon juice, vanilla extract, almond extract, and a pinch of salt.
- Let cool before using or store in the fridge.
How to Use It
✔ Pie Filling: Pour into a pre-baked or raw pie crust and bake at 375°F (190°C) for 45-50 min.
✔ Cheesecake Topping: Spoon over chilled cheesecake.
✔ Pastries & Turnovers: Use as a filling for puff pastry treats.
✔ Breakfast Topping: Drizzle over waffles, pancakes, or oatmeal.
Notes
- Fridge: Store in a sealed container for up to 5 days.
- Freezer: Freeze for up to 3 months. Thaw in the fridge overnight before using.